email: info@moetryplay.com



-
 Airplane Children’s Outdoor Playground
Airplane themed children’s outdoor playground equipment with S shaped slide and single open slide.
View now
Airplane Children’s Outdoor Playground
Airplane themed children’s outdoor playground equipment with S shaped slide and single open slide.
View now
-
-
-
 A fun place for whole family. We provide play equipment for children.
 -
 Our product range perfectly cover what a childcare center need, either new center or existing one.
 -
 Play can have a special therapeutic value for ill children in hospital or pediatric therapy center.
 -
 Playgrounds bring the parents and children together to relax, play and make friends.
 -
 Playgrounds make hotels more family-friendly and encourage families to visit and stay.
 -
 Our products help children learn about history and future through all kinds of interactive play.
-
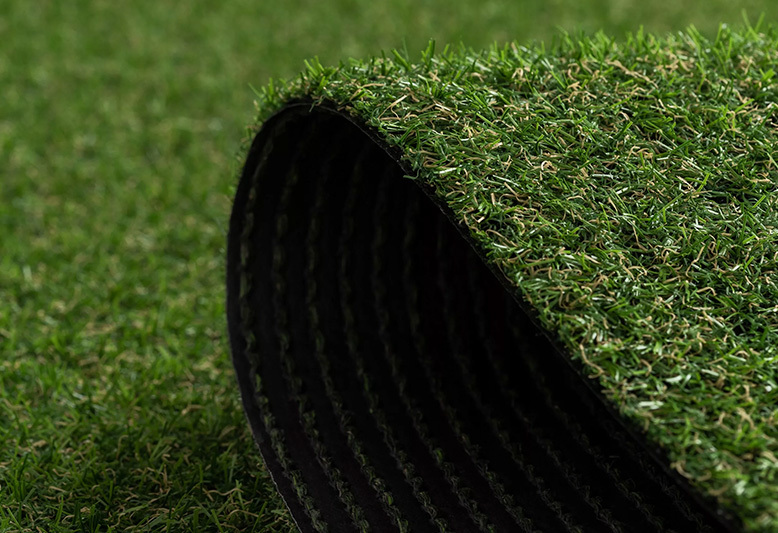
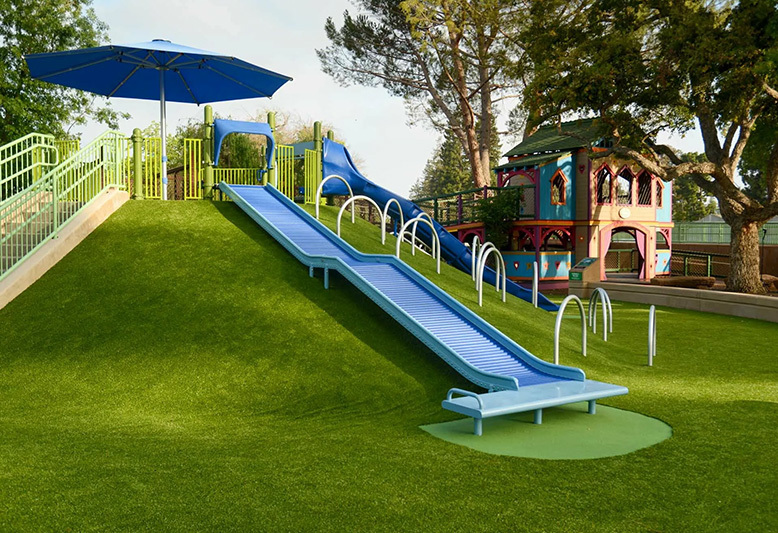
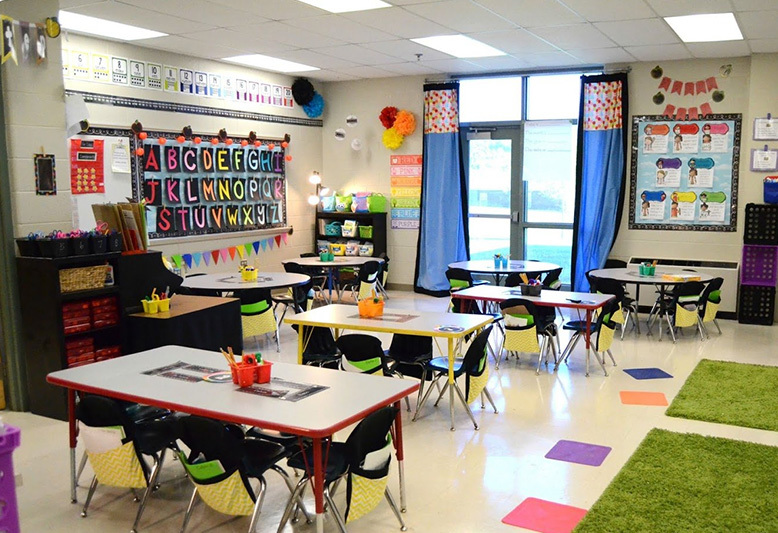
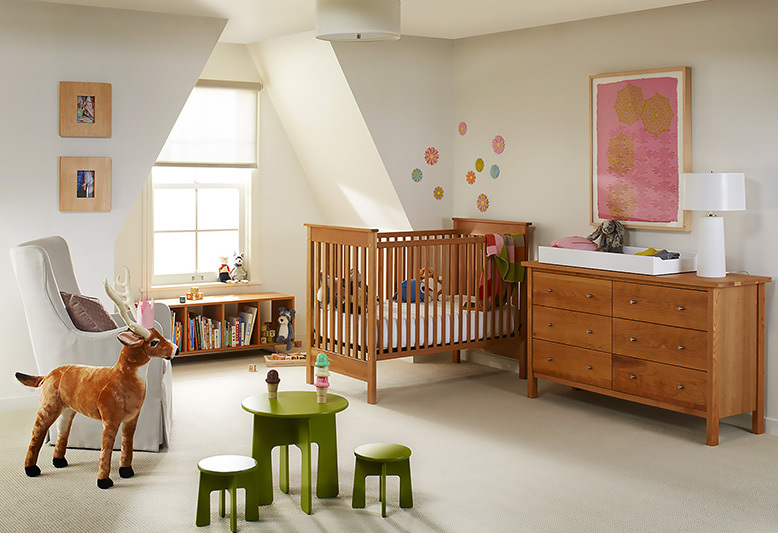


Installation Guide | How to Lay Artificial Grass Turf
Release time:
2025-03-21 18:29
Source:


Transform your space with lush, low-maintenance artificial grass. Follow this step-by-step guide to install your turf like a pro—whether it’s for a backyard, playground, rooftop, or commercial area.
Tools & Materials Needed
- Artificial grass rolls
- Shovel
- Rake
- Utility knife
- Wheelbarrow
- Tape measure
- Landscaping fabric (aka weed barrier, needed if install fake grass on soil)
- Turf adhesive or turf joining tape
- Turf nails or U-pins
- Infill material (e.g., silica sand or rubber granules)
- Power broom or stiff bristle broom
- Plate compactor (optional but recommended)
Step 1: Measure and Plan
- Measure the area accurately.
- Sketch out a layout and calculate how many rolls of grass and how much base material you need.
- Plan grass roll direction (for natural appearance, lay all in the same direction).
Step 2: Prepare the Ground
Remove Existing Turf
Remove grass, roots, and debris using a shovel or turf cutter.
Excavate the Area
Excavate 2–4 inches (5–10 cm) below the final height to make space for the base.
Install a Sub-base
Fill the area with crushed stone or decomposed granite (approx. 2–3 inches).
Use a rake to spread evenly.
Compact it using a plate compactor for a firm, smooth surface.
Install Weed Barrier
Roll out landscaping fabric to prevent weed growth.
Overlap edges by a few inches and secure with landscaping pins.
Step 3: Lay the Artificial Grass
Roll Out the Grass
Lay out the artificial turf over the area. Let it rest for a few hours (or overnight) to flatten.
Trim to Fit
Use a sharp utility knife to cut excess grass around edges, curves, or obstacles.
Secure the Seams
Align turf pieces carefully.
Use turf joining tape and adhesive or self-adhesive seam tape under the seams.
Press turf down firmly for strong bonding.
Step 4: Secure the Grass
- Nail down the edges with turf nails or U-pins every 6–12 inches.
- Add additional pins in the middle to prevent movement or bubbling.
- Make sure the grass lies flat and smooth.
Step 5: Add Infill (Optional)
- Spread infill material evenly using a drop spreader or by hand.
- Common infills: Silica sand for stability or rubber granules for cushioning (especially for playgrounds or sports fields).
- Use 1–2 pounds per square foot, depending on application.
Step 6: Brush the Grass
- Use a stiff broom or power broom to brush the blades upright.
- Brush against the grain for a more natural appearance.
- Repeat brushing after infill has settled.
Final Tips
- Always install grass in the same pile direction.
- Avoid installing on rainy days (moisture affects adhesion).
- Clean regularly for long-lasting appearance.
- For large areas, consider professional installation for perfect leveling and seaming.
Related Products
You might be interested in
Create a safe and joyful
learning & playing space!

