email: info@moetryplay.com



-
 Airplane Children’s Outdoor Playground
Airplane themed children’s outdoor playground equipment with S shaped slide and single open slide.
View now
-
-
-
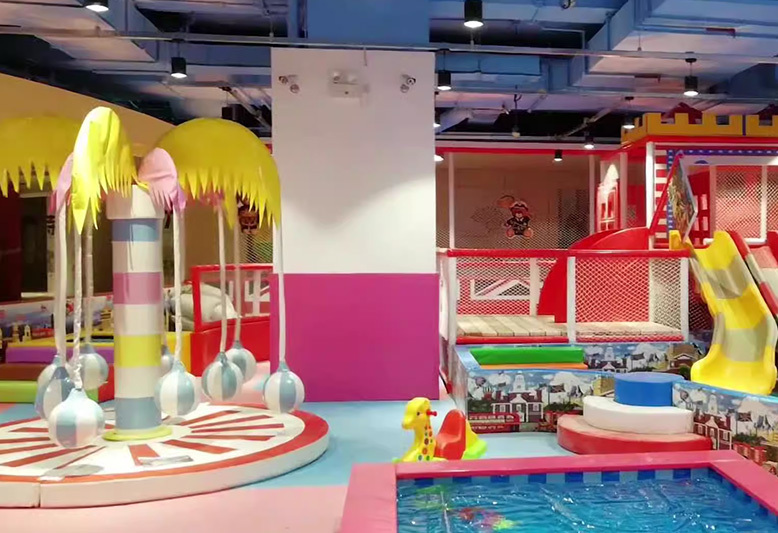
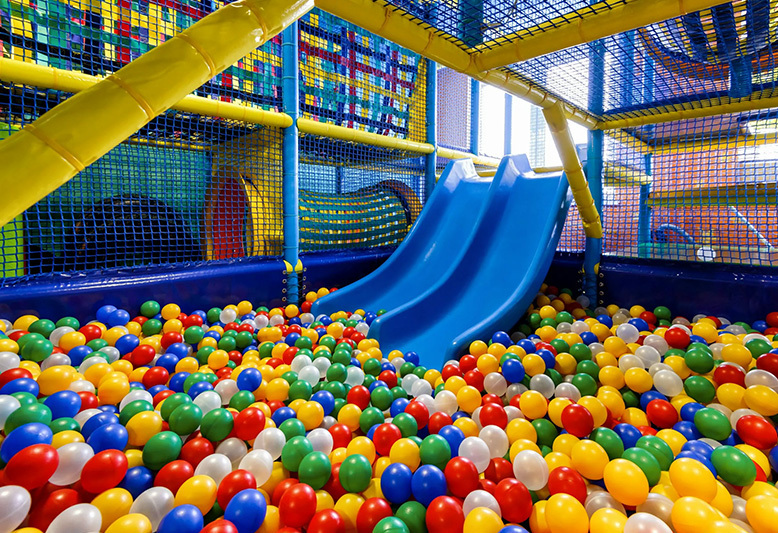
 A fun place for whole family. We provide play equipment for children.
-
 Our product range perfectly cover what a childcare center need, either new center or existing one.
-
 Play can have a special therapeutic value for ill children in hospital or pediatric therapy center.
-
 Playgrounds bring the parents and children together to relax, play and make friends.
-
 Playgrounds make hotels more family-friendly and encourage families to visit and stay.
-
 Our products help children learn about history and future through all kinds of interactive play.
-
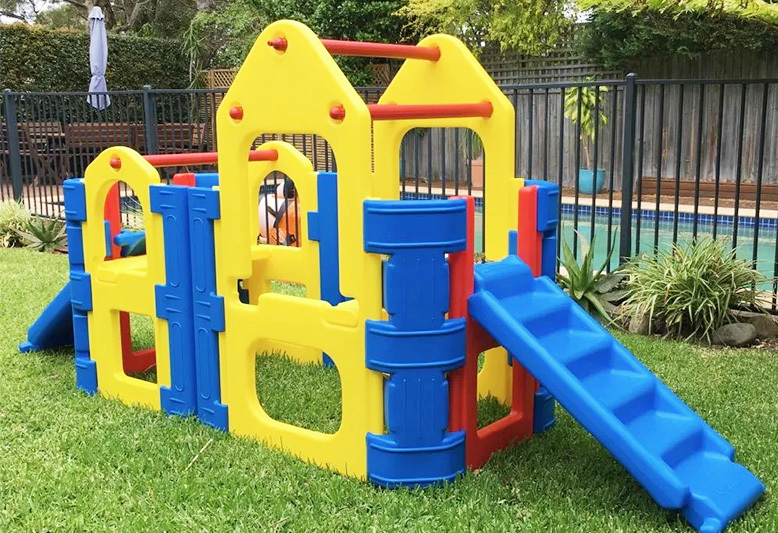
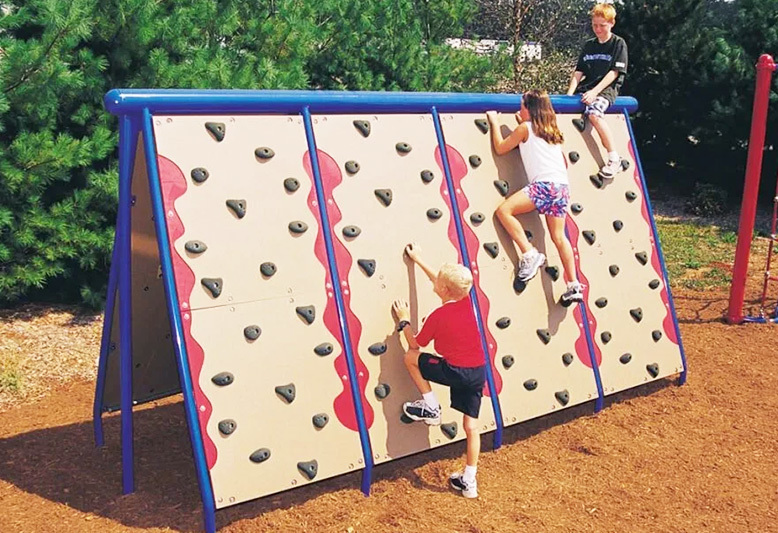
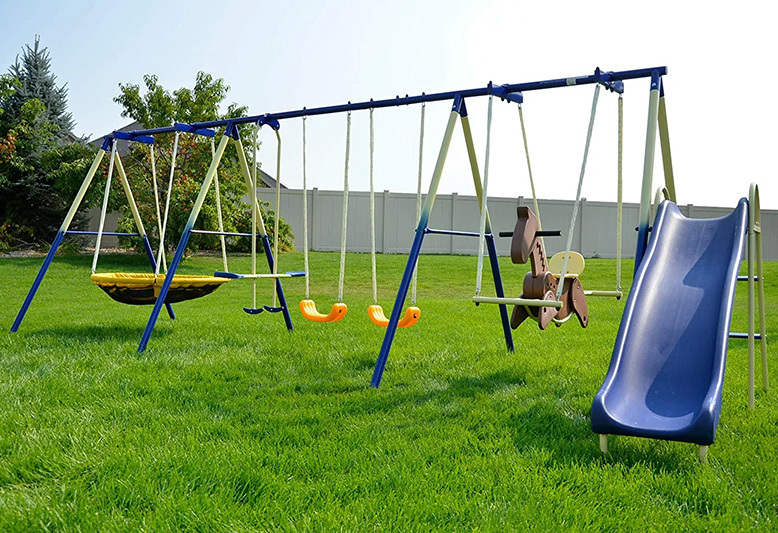
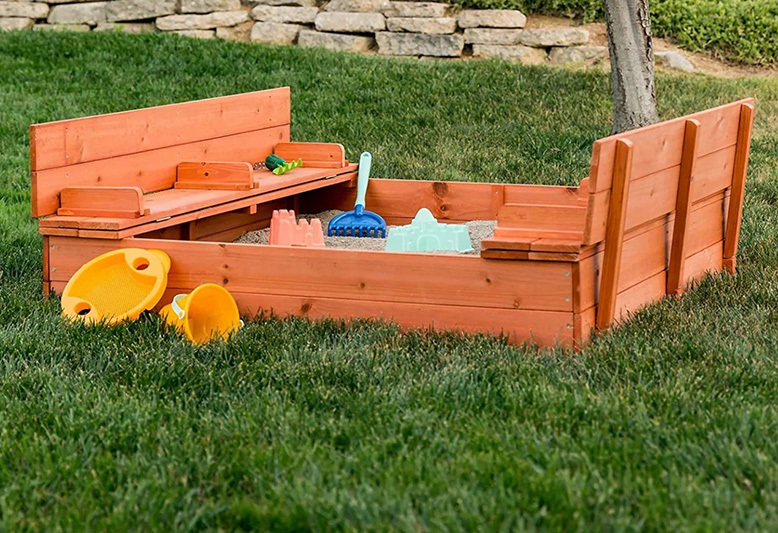


Installation Guide for Children's Outdoor Playground Install with Bold Screws on Hard Ground
Release time:
2024-06-28 18:58
Source:


When installing kids outdoor playground equipment, getting it right is crucial. It's not just about the fun; it's also about making sure the playground is safe and durable where kids can play without worry. Proper setup helps ensure the playground is a joyous and secure spot for endless fun. By carefully following each installation step, you create a delightful, sturdy playground where safety comes first. Follow this installation guide for children's outdoor playground to guarantee a safe and enjoyable environment for all children.
Video Installation Guide click this link to check: Video Instruction How to Install Outdoor Playground Equipment Step by Step
Playgorund Installation Method:
Installation by bolt screws on hard ground
Tools Needed:
Drill with masonry bit
Wrench or socket set
Measuring tape
Chalk or marker
Level
Installation Steps:
1. Site Preparation:
Choose a flat, level area on hard ground (e.g., concrete or asphalt).
Clear any debris and ensure the surface is clean.
2. Unpack the Outdoor Playground:
Unpack the outdoor playground pieces carefully to not damage or scratch them
Place the playground accesssories pieces aside in order for easier installation
3. Position the Playground Equipment:
Check the installation instruction, place the playground pillars on their desired positions.
Use chalk or a marker to outline the positions of the pillars.
4. Drill Holes:
Using a drill with a masonry bit, drill holes into the hard ground at the marked positions.
Ensure the holes are deep enough to accommodate the bolt screws.
5. Playground Parts Installation:
First install the playground pillars and platforms
Then Install the stairs, handrials, protective baffles, slides and climbers
Install the tops when all the other parts are installed.
6. Secure the Equipment:
Tighten the bolt screws using a wrench or socket set.
Ensure all screws are tightly fastened to prevent movement.
7. Level and Adjust:
Use a level to check that the equipment is properly aligned.
Make any necessary adjustments to ensure stability and safety.
8. Final Inspection:
Perform a thorough inspection to ensure all components are securely fastened.
Test the equipment for stability before allowing children to use it.
By following these detailed steps, you can ensure a safe and secure installation of your children's outdoor playground.
Related Products
You might be interested in
Create a safe and joyful
learning & playing space!

